
REVIEW · LONDON CITY TOURS
London Creative Photography Tour
London turns into a photo school in three hours. You meet up at Nelson’s Column and get personalized guidance that helps you take better shots with your phone or camera. I like that you’re not just pointed at landmarks, you’re taught how to see them.
The route is a lot of walking, and it is a fast-moving loop through busy areas. If you have limited stamina, plan on comfortable shoes and a realistic pace, because there’s no time to slow down for long photos.
You’ll finish with a mix of icon views and street scenes, plus coffee and/or tea. The experience is led in English or Spanish, and it is private, meaning it is only your group.
Key things to know before you go
- Nelson’s Column start: you kick off with quick photo basics right in the Trafalgar Square hub
- Small-group attention: you get personalized coaching as you move through major sights
- Phone or camera practice: you learn street and urban photography techniques, not just where to stand
- Thames crossings for new angles: the London Eye, bridges, and viewpoints are built into the route
- Try pro gear briefly: you bring your own camera, but you can test mirrorless cameras, lenses, tripods, and filters
- Coffee and/or tea break: you get a short reset around the mid-point while you compare your shots
Why This London Creative Photo Walk Works
This tour is built for one goal: make you better at taking pictures while you’re surrounded by London’s most photographed spots. In practice, that means you spend less time wondering what to do and more time making images, with a guide who actually teaches.
I especially like the focus on creativity and composition. You’re not only chasing famous buildings like Big Ben or the London Eye, you’re practicing ways to frame them, plus how to handle street scenes where people, signage, and movement all fight back.
One more strong point is the hands-on feel. Even though you bring your own gear, you can test newer mirrorless cameras and accessories like tripods and filters, which is a big deal if you want to experiment without committing money. If you want a tour that turns into a mini photo workshop with real city material, this hits.
You can also read our reviews of more photography tours in London
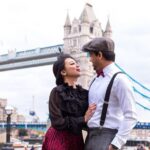
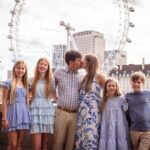
Nelson’s Column to Trafalgar Square Basics: Learn Before You Aim
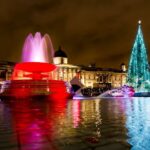
You start at Nelson’s Column at Trafalgar Square, a location that makes the lesson instantly useful. The space is full of angles, stone detail, and constant foot traffic, so it’s a perfect place to learn how to set up quickly and shoot deliberately.
Early on, your guide introduces basic photographic concepts while you walk. Then you begin practicing right away with a grab bag of photo opportunities around the square and nearby streets, including the National Gallery area, Admiralty Arch, the Landseer Lions Statues, and St Martin-in-the-Fields church.
This first segment matters because it teaches you how to work in a place like London. You’re learning how to spot strong lines, think about foreground and background, and avoid the classic mistake of taking the first decent shot and calling it a day.
Practical tip: if you’re using a phone, keep an eye on focus and exposure as you move between bright stone and darker street corners. If you’re using a camera, consider taking a few test frames early, so you’re not changing settings mid-walk while the light changes.
Trafalgar Square to Parliament Square Garden: Framing Big Ben the Smart Way
After the initial area, you head from Trafalgar Square toward the Palace of Westminster. Along the way, you pass through a classic stretch of sights and photo backdrops: Admiralty Arch and The Mall, Horse Guards Parade, and the Cenotaph.
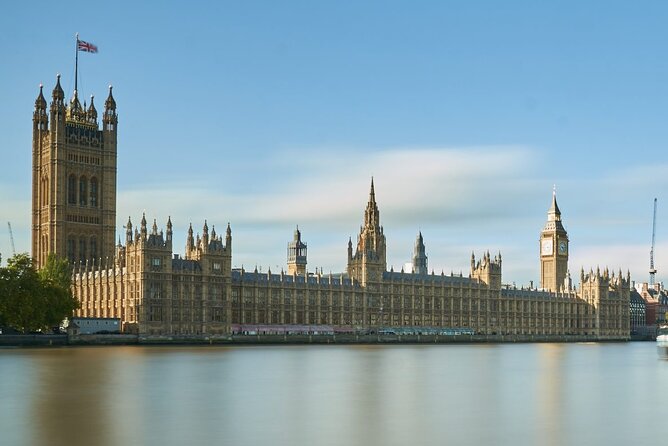
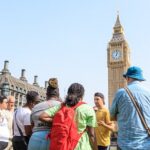
You then arrive at Parliament Square Garden for shots looking toward the exterior of the Palace, with Big Ben and Westminster Abbey in the same visual story. This is the moment most people picture when they think about London photos, but what makes it better here is the way you’re taught to create a composition instead of just aiming upward.
A useful way to think about this segment is as your landmark training. You learn how to include enough context so the image feels like London, but not so much that it becomes a cluttered postcard. The guide shares creative techniques to improve your photographs, which is exactly what you want when you only have a few hours and plenty of competitors.
Drawback to consider: this is a busy zone. You’ll get your chances, but you may need patience for clear sight lines. Quick shots beat waiting forever, and your guide’s coaching helps you work fast.
Crossing the Thames to the London Eye and Waterloo Views
Next you cross toward the Thames and one of London’s most popular attractions, the London Eye. You get different views of Palace of Westminster and Big Ben while you work on fresh compositions, not just the same angle from the same spot.
As you walk, the route connects key creative backdrops including Leake Street, Golden Jubilee Bridges, and Waterloo surroundings. This part of the tour is where you start shifting from strict landmark shots to more layered urban scenes, with water reflections, bridge lines, and background depth.
This is a great segment if you like the cinematic look of London from multiple vantage points. The Thames gives you built-in leading lines and natural separation between subjects, and bridge crossings make it easier to change perspective without feeling like you’re constantly relocating.
Practical tip for photos across the river: if the light is bright, watch for glare and blown highlights. If you have a camera, try a couple frames with slightly different exposures so you don’t lose the stone detail.
Charing Cross to Covent Garden: Street Photography in Real-Time
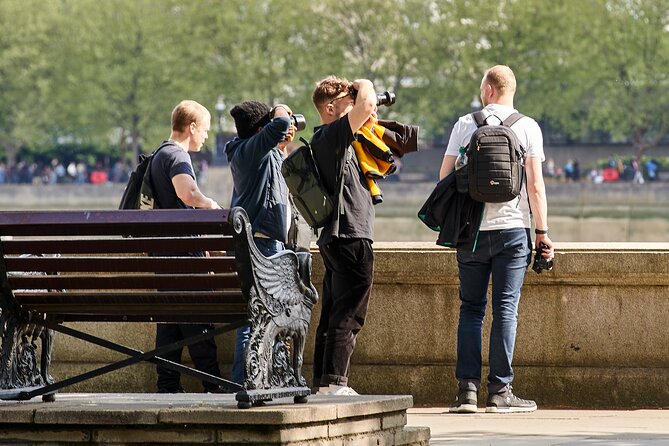
After more crossing by Golden Jubilee Bridges, you move toward Embankment, Charing Cross, and Covent Garden. These areas are lively, meaning you get the kind of street texture that makes photos feel alive.
This segment is valuable because street photography is messy. People pass in front of your frame, light changes quickly, and performers and shops pull attention in multiple directions. A guide helps you narrow your focus, decide what story you want, and then execute.
If you’re using a phone, this part is especially satisfying because it’s fast. You can experiment with angles, hold steady long enough for focus, and shoot without worrying about lens changes. If you’re using a camera, you can slow your thinking down and look for patterns like symmetry in shop fronts or repeating lines along pedestrian routes.
Light issue to keep in mind: street scenes can look dramatic or flat depending on the time of day. Don’t assume every shot will be perfect. The tour style encourages practice, so treat it like a testing ground.


Southbank to St Paul’s: Bridges, Iron Arches, and Busy Charm
Now you travel south along the river, crossing by Waterloo Bridge and continuing past the National Theatre and the Southbank area. Then you reach the historic Blackfriars Bridge with iron arches and stone carvings, where you can capture scenic views.
The bridge crossing is more than a walking transfer. It gives you a natural foreground element and a structured “frame within a frame” effect, which is great for photos of the city turning into a visual pathway.
You finally reach St Paul’s Cathedral, one of the most iconic silhouettes in London. Here, you can practice a different skill: making a grand building feel grounded by including scale cues from street level.
This segment is also where you benefit most from having a guide. St Paul’s is famous, but the best shots often come from less obvious positions, and the coaching helps you find compositions that feel intentional rather than random.
Practical tip: if you want sharper cathedral shots, stabilize your phone or camera as much as possible. If your hands tend to shake, try bracing on a railing or using the tripod accessories when you get the chance to test equipment.
The Mid-Tour Coffee Pause and Optional Southwark Add-Ons
Sometime as you head toward the Millennium Bridge, you’ll likely take a break for a hot drink. This pause is more useful than it sounds, because it gives you time to review what you captured and reset your approach before the final push.
This tour is ambitious, and that pace matters. You’re walking a lot and practicing continuously, so the coffee break helps keep your creativity from burning out.
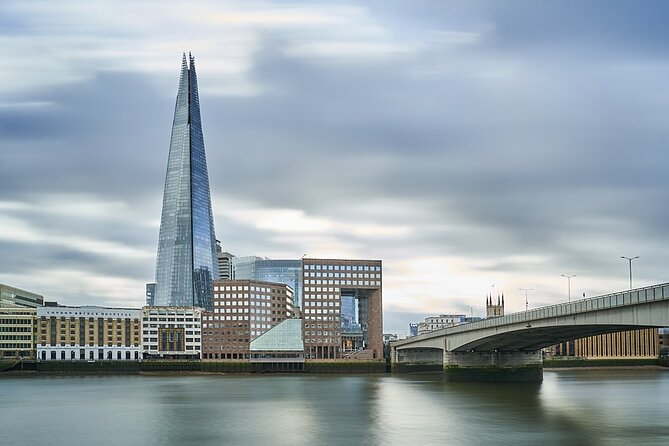
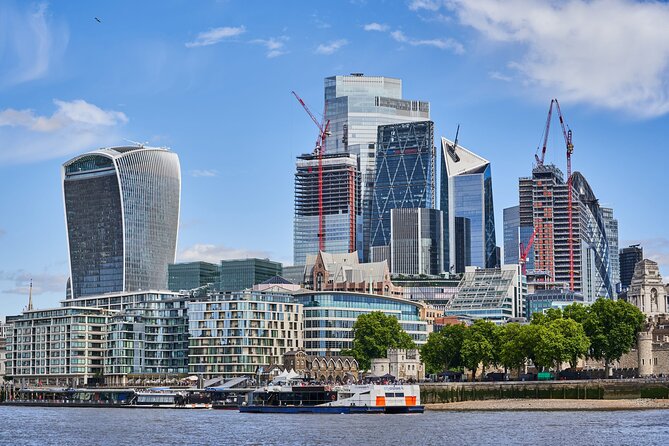
If there is time, the route can continue along the north riverside with options on the Southwark side, including Tate Modern, Shakespeare’s Globe, London Bridge, or The Shard. This is a nice bonus because it broadens your London portfolio beyond the classic skyline shots.
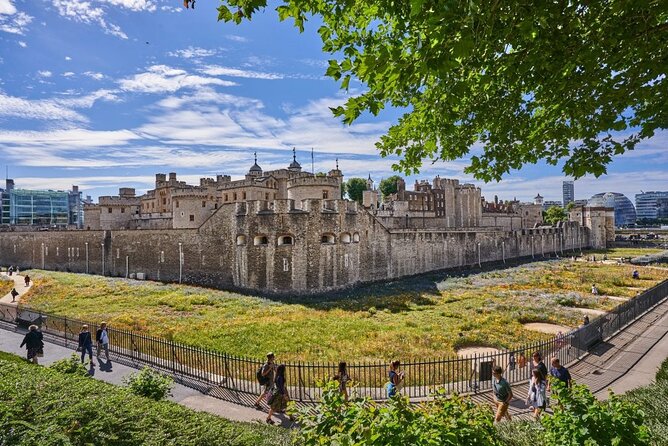
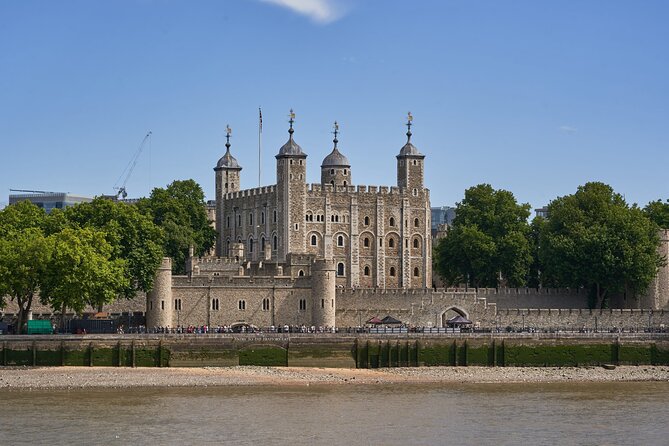
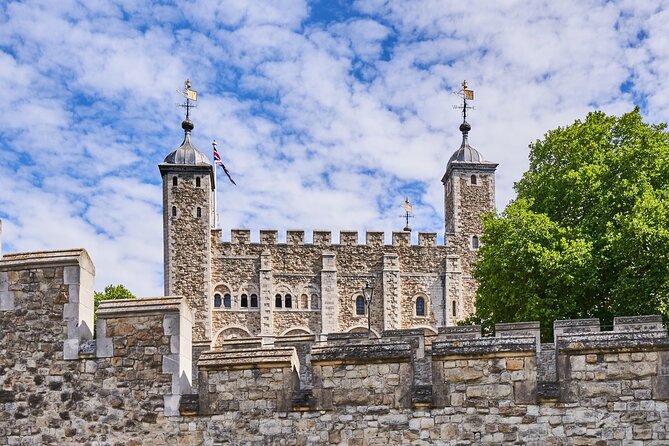
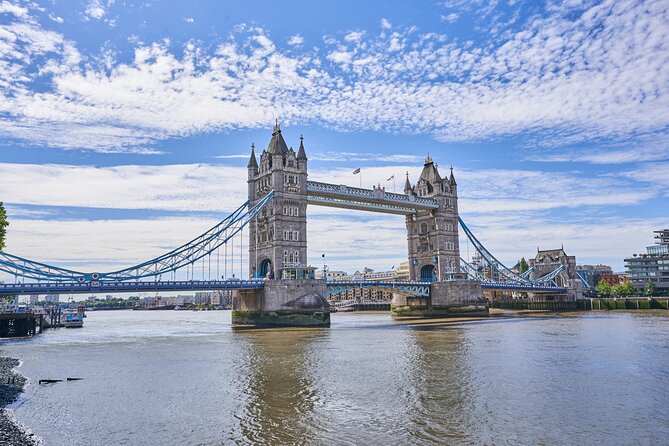
Then you reach HMS Belfast and finish around the Tower of London and Tower Bridge. It’s a strong closer because you end with major visuals that feel like London’s working port energy, not just royal landmark views.
The Guide Factor: Learning From Jesus and Applying It Fast
One name that stands out from the experience is the guide Jesus. People praise him as professional and very willing to teach, with a friendly style that turns learning into something you can actually use on your walk.
What I take from that is simple: you’re not getting generic tips. You’re getting techniques you can apply immediately while you’re still in front of the subject. That’s the difference between hearing photography advice and actually improving your results.
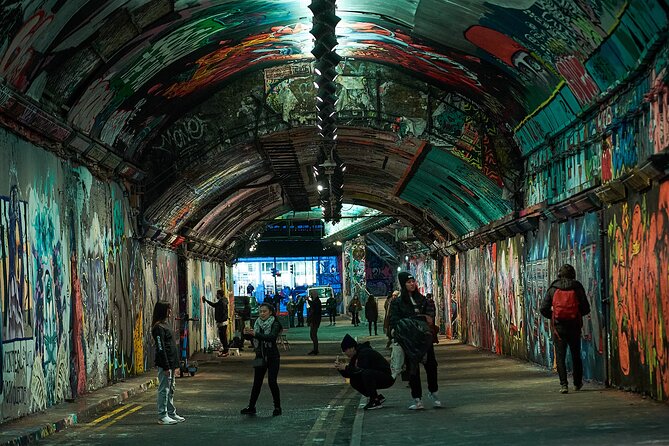
It also helps that the tour can bring in extra creative stops when the route allows. In at least one experience, Jesus led guests toward spots like an Underground graffiti tunnel, plus areas around Covent Garden Market, China Town, City Hall, and even Buckingham Palace. That kind of flexibility makes the tour feel less scripted and more like a tailored photo hunt.
A quick note for your expectations: you should be ready to move. This is not a sit-down workshop. It’s an active photo walk where your learning happens while you’re walking and shooting.
Gear and Technique: What You Bring, What You Can Test
Here’s the practical setup. You have to bring your own camera, but you can try and test additional equipment. The tour includes access to newer mirrorless cameras with different lenses and accessories like tripods and filters, which can help you experiment safely during the session.
That matters if you’re unsure what gear to buy next. You can try a different focal length feel, see how stabilization or support changes sharpness, and get a better sense of how filters affect contrast or reflections.
If you’re shooting with a phone, you’ll still get value. The concepts and creative techniques apply just as much to mobile photography as to traditional cameras. The main difference is you’ll lean more on composition, timing, and clean focus rather than lens swaps.
What I recommend you do before you go:
- Bring extra battery power if you’re using your phone a lot
- Wipe your lens or phone camera before you reach darker stone areas
- Decide if you want a theme for the day, like bridges, reflections, or street stories, so your shots feel connected
Price and Value: Is $142.67 Worth It?
At $142.67 per person for about three hours, you’re paying for more than walking between sights. You’re paying for coached instruction, hands-on practice, a small-group format, and included perks like coffee and/or tea.
If you were hiring a standard private photo helper for the same time, the concept of value would be similar, but here you also get equipment trial options like mirrorless setups, tripods, and filters. Those try-before-you-commit moments can easily justify the cost if you’re the type who wants to learn by experimenting.
The no-transport angle is important for budgeting and comfort. You’re walking, and you’re responsible for getting yourself to the start near public transportation. If you like active tours and you want to spend your time shooting rather than commuting, the pricing makes sense.
Who gets the best value:
- People who want to improve phone photos quickly
- Camera owners who want structured technique practice in the real city
- Visitors who want landmark photos but also want street photography skills
Who This Tour Suits Best (and Who Should Skip It)
This tour is a good fit if you enjoy moving through neighborhoods and learning by doing. The route includes moderate walking and requires comfort in busy areas. If you can handle a few hours of steady pace, you’ll get a lot out of it.
It is also a great choice if you’re traveling with someone who wants different styles. One person can chase architectural framing while the other focuses on street scenes and human details, and your guide can support both.
If you prefer slow, museum-like pacing, this is probably not your best match. The tour is designed to cover a lot visually, and that means you’ll be working fast for photos and creative practice.
Best moment to book: if you want to build confidence early in your trip. The techniques you learn can carry over to your later sightseeing days, especially around the Thames and major central landmarks.
Should You Book This London Creative Photography Tour?
Book it if you want a guided photo experience that feels like a hands-on class in the middle of London. I’d especially recommend it to anyone who feels stuck taking the same landmark shot every time. Here, you learn how to make images with stronger framing and better street instincts, plus you get a mid-tour break to reset.
Skip it if you hate walking or you’re the type who wants one or two sights lingered over for long sessions. At a three-hour walking pace, you’ll trade extended time at each spot for lots of angles and practice.
One last decision shortcut: if you want your camera or phone to come home with photos that look more intentional, this tour has the structure to get you there.
FAQ
How long is the London Creative Photography Tour?
It runs for about 3 hours on foot.
Where is the meeting point?
The tour starts at Nelson’s Column, A400 Trafalgar Square, London WC2N 5DS, UK.
Where does the tour end?
The tour ends in a different location. The walking route finishes around the Tower of London and Tower Bridge.
Is transportation included?
No. There is no transportation included, like taxis or pickups.
Do I need to bring my own camera?
Yes, you must bring your own camera. You can also test additional equipment during the tour.
What equipment can I test during the tour?
You can try newer generation mirrorless cameras with different lenses and accessories such as tripods and filters.
Is coffee or tea included?
Yes, coffee and/or tea is included.
What languages are available?
The tour is offered in English or Spanish.
Is this a private tour?
Yes. It is private, and only your group participates.
Can I cancel for a full refund?
You can cancel for free up to 24 hours in advance for a full refund. If you cancel less than 24 hours before the start time, the amount paid is not refunded.
More Photography Tours in London

More Tours in London


More Tour Reviews in London
Not for you? Here's more nearby things to do in London we have reviewed
More London City Tours worth a look.
 ★ 4.6The London Eye Entry TicketTickets from $3935,875 guest reviews
 ★ 4.7From London: Harry Potter Warner Bros Studio TourTickets from $11726,588 guest reviews
Westminster to Greenwich River Thames CruiseTickets from $2222,836 guest reviews
Magical London: Harry Potter Guided Walking TourTickets from $2022,044 guest reviews
 ★ 4.6Madame Tussauds LondonTickets from $3620,915 guest reviews
 ★ 4.5Stonehenge, Windsor Castle, and Bath from LondonTickets from $11118,662 guest reviews
 ★ 4.7Warner Bros. Studio Tour with TransfersTickets from $14417,586 guest reviews
 ★ 4.7Tower Bridge Entry TicketTickets from $2115,560 guest reviews
Continue by place or experience